Import a CSV statement from your bank into a finerd account on the web or iOS: file limits, progress, results, duplicates and import errors.
To add your bank’s transactions to finerd without typing them, export a statement from your bank as a CSV file and import it into one of your finerd accounts. finerd reads the file itself, adds the transactions to that account and fills in the merchant and category for each one.Importing transactions needs Pro. It works on the web and on iOS; the Android app can’t import a file into an account, so use the web or iOS for it. To bring over your history from another finance app instead, see Start fresh or import history. To record only the closing balance from a statement, use Import a statement in verified balances.
Choose the account. You import a file into one account at a time: a bank account, a card, cash, a loan or a debt you track yourself. Use it for accounts that aren’t connected to your bank, or to add older history that your bank connection doesn’t bring. Create the account first if you don’t have it yet; see Create an account. Archived accounts and your partner’s family account can’t take an import.Export the file from your bank. Choose CSV in your bank’s export or statement options. If your bank offers only an Excel file, open it in a spreadsheet app and save it as CSV. PDF statements can’t be imported as transactions.Check the file.
One file per import, up to 1 MB and 1,000 transactions. Split a longer history into several files, for example one per few months.
Each row needs a date, an amount and a description. A currency column is optional; without one, finerd uses the account’s currency.
Remove rows that aren’t transactions, such as opening and closing balances, totals or rows without an amount. finerd can read them as transactions with the wrong amount.
You don’t need to rename or rearrange the columns. finerd works out which column is which, including separate debit and credit columns, dates such as 2026-09-02, 9/2/2026 or 02.09.2026, and decimal commas.
Category, tag and note columns are ignored: finerd chooses the merchant and category for each transaction itself.
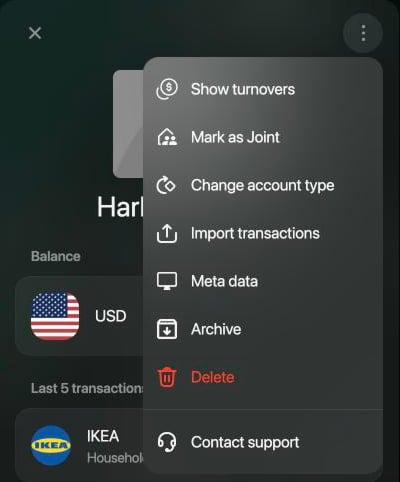
Select ⋮ at the top of the account, then Import transactions.
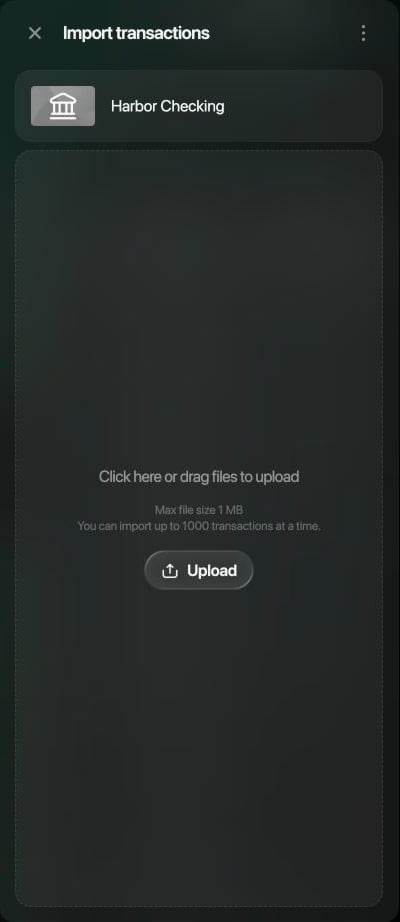
Select Upload and choose the CSV file, or drag the file onto the panel. The file appears under Files to import.
Select Start import. The panel closes and finerd starts reading the file.
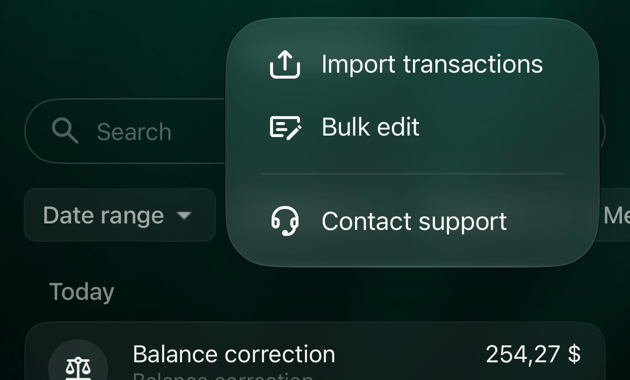
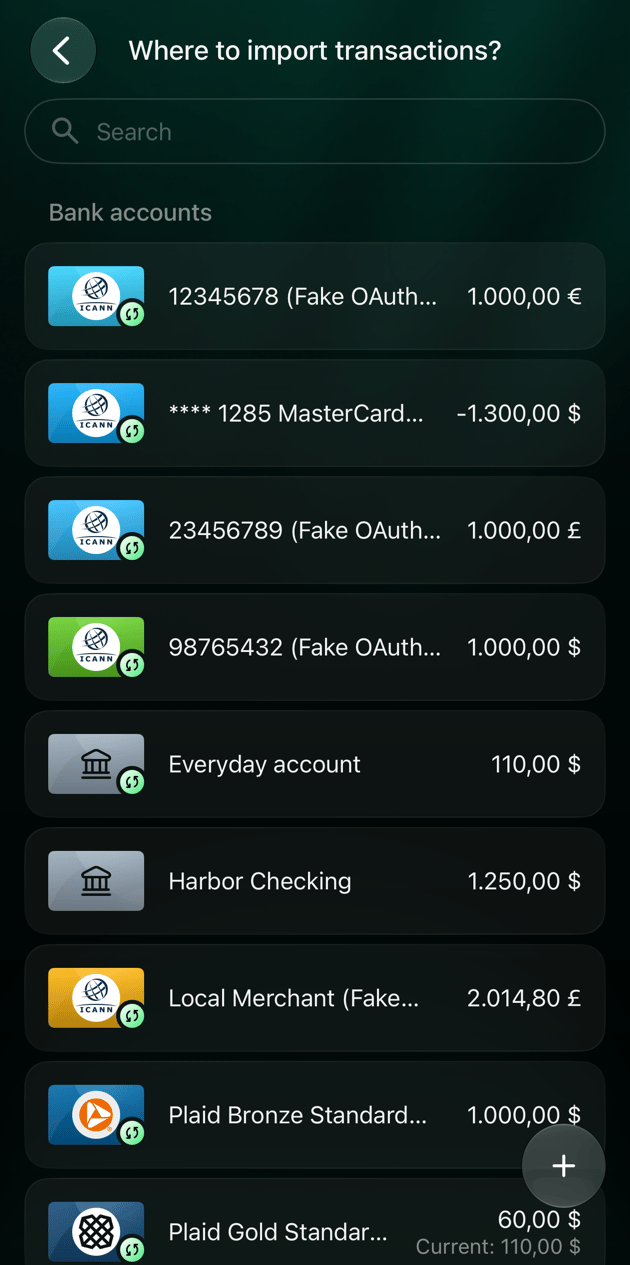
You can also start from Transactions: select ⋮ at the top of the page, then Import transactions, and choose the account under Where to import transactions?
Import transactions in the account's ⋮ menu.
Upload a CSV file of up to 1 MB and 1,000 transactions.
The Android app can’t import a CSV file into an account. Import the file on the web or in the iOS app; the transactions then appear on Android too.
Save the CSV file to the Files app, for example from an email attachment or from your bank’s app.
Open Transactions, tap ⋮ at the top right, then Import transactions.
Choose the file.
Under Where to import transactions?, tap the account. finerd starts reading the file.
You can also start from the account: open it, tap ⋮, then Import transactions, and choose the file. The account step is skipped.
Import transactions in the Transactions menu.
After choosing the file, choose the account.
Only one import runs at a time. If you start another one, finerd shows Importing data… Please wait; select Got it and try again when the first one has finished.If Import transactions shows a Pro badge, importing isn’t included in your plan.
finerd reads the file first and then adds the transactions. A short statement usually takes about a minute. You can keep using finerd in the meantime; an import can’t be stopped once it has started.
Web
Android
iOS
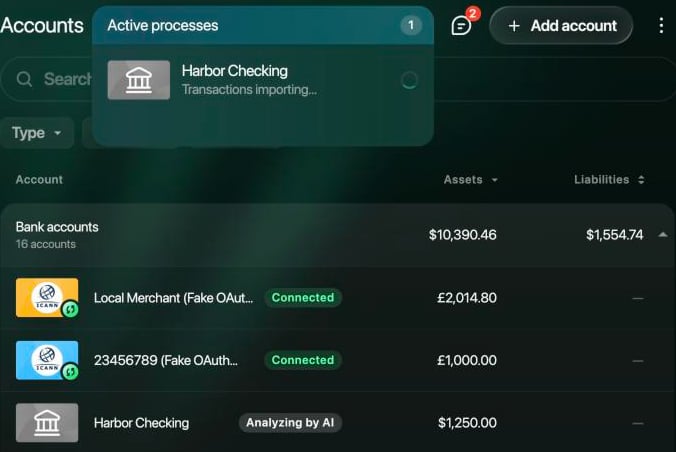
The account shows Analyzing by AI while finerd reads the file, then Importing with a percentage. To see the import with its progress bar, select Active processes at the top of the page.
Active processes and the account label show the import's progress.
Android doesn’t show the progress of an import started on the web or iOS. The result message appears in Inbox.
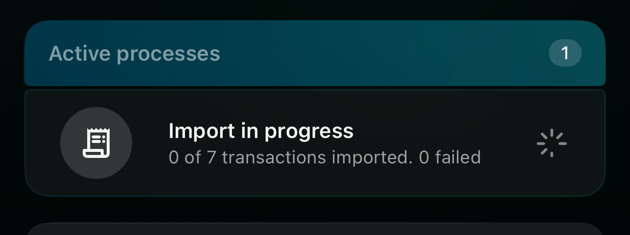
The Dashboard shows Active processes with Import in progress and a count, such as 0 of 7 transactions imported. 0 failed.
Import progress on the Dashboard.
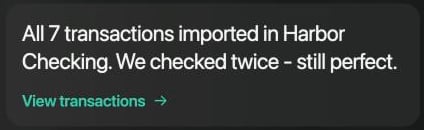
When the import is over, finerd sends a message to Inbox with the result. If everything was imported, it says how many transactions were added to the account, for example All 7 transactions imported in Harbor Checking, with a View transactions link.
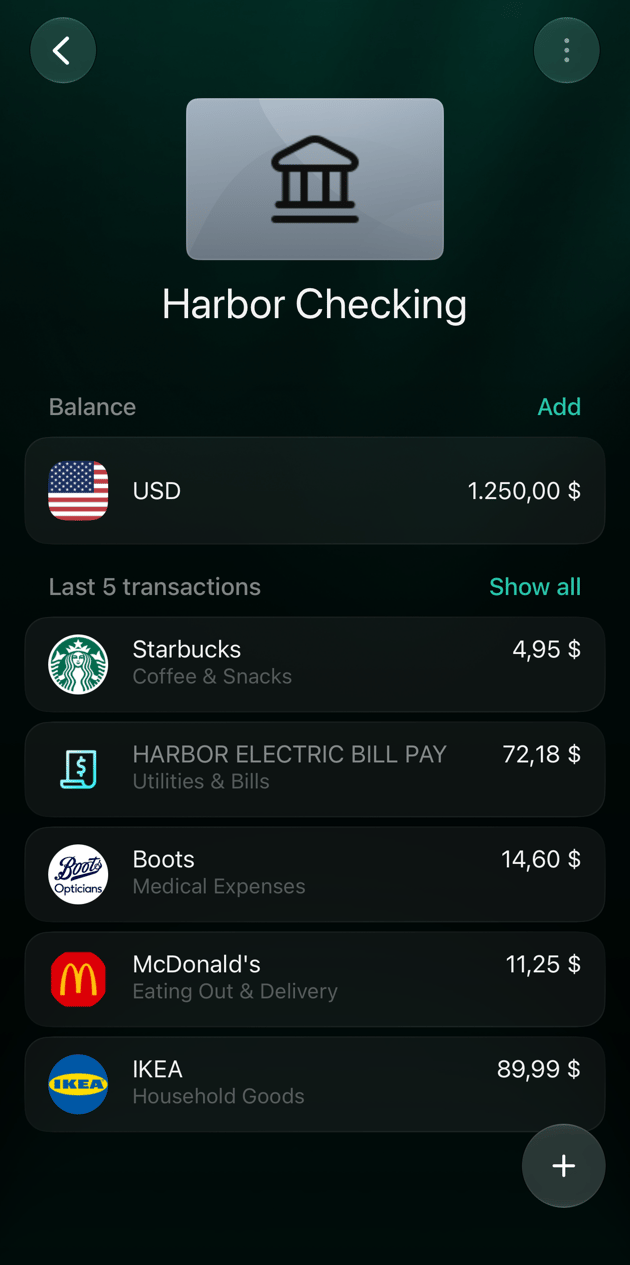
Select View transactions in the Inbox message, or open the account, to see what was added. Imported transactions are recorded like the ones you add yourself:
Merchant and category. finerd recognizes the merchant from the description and chooses a category, as it does for bank transactions. For example, STARBUCKS STORE 1182 becomes Starbucks in Coffee & Snacks. When it can’t tell, the transaction shows Unknown merchant; if no category fits, it’s marked Needs review. With Zero Inbox on, every imported transaction is marked Needs review until you confirm it.
Money in and out. Money that went out is recorded as an expense. Money that came in is recorded as income, such as a salary, or as a refund in the matching expense category, such as REFUND BOOTS PHARMACY in Medical Expenses.
Editing. You can change, split or delete an imported transaction, the same as one you added yourself.
Balance. Imported transactions dated before the account’s first verified balance, such as the balance you set when you created it, don’t change that balance: finerd records the difference as Initial balance before the earliest imported transaction. For example, Harbor Checking still shows $1,250.00 after the September statement is imported. Transactions dated after a verified balance change the account’s balance, or a Balance correction if a later check exists.
Imported transactions with merchants and categories.
Importing the same file again doesn’t add the transactions twice: finerd recognizes the rows it has already imported into that account. It does restore them as they were in the file, so changes you made to those transactions, such as a new category, are lost. When you import your next statement, export only the dates you haven’t imported yet.
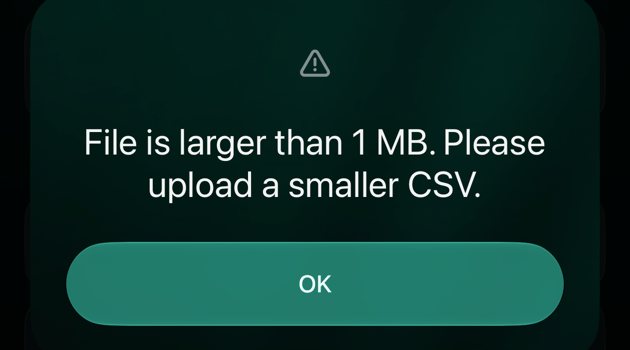
Web: The file size or transaction count exceeds the allowed import limits. iOS: File is larger than 1 MB. Please upload a smaller CSV.
The file is over 1 MB or has more than 1,000 transactions.
Export a shorter period, or split the file into several CSV files and import them one by one.
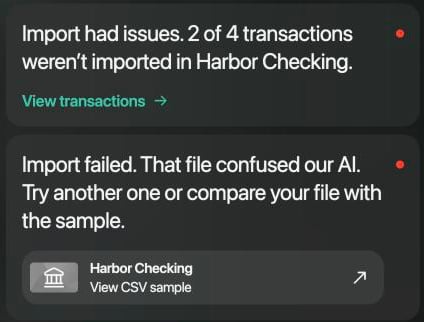
Import failed. That file confused our AI. with View CSV sample
finerd couldn’t find transactions in the file.
Check that it’s the transaction export, not a summary or another report, and that it has date and amount columns. View CSV sample opens an example file to compare with; on Android the link doesn’t open, so open the message on the web or iOS.
Import had issues. … of … transactions weren’t imported
Some rows weren’t added, for example a row with an amount of zero.
Open the account and compare it with the statement. Add any missing transaction yourself.
Importing data… Please wait
Another import or a data migration is still running.
Select Got it and wait for the Inbox message about the first one.
The file can’t be selected
Only CSV files can be imported.
Save the statement as CSV first.
Inbox messages about an import with skipped transactions and a failed import.
iOS checks the file size before the import.
After any import, compare the account with your statement. If a transaction has an amount that isn’t on the statement, open it and correct or delete it.If Import transactions isn’t in the account’s menu, check that the account isn’t archived and that it’s your own account rather than your partner’s family account.