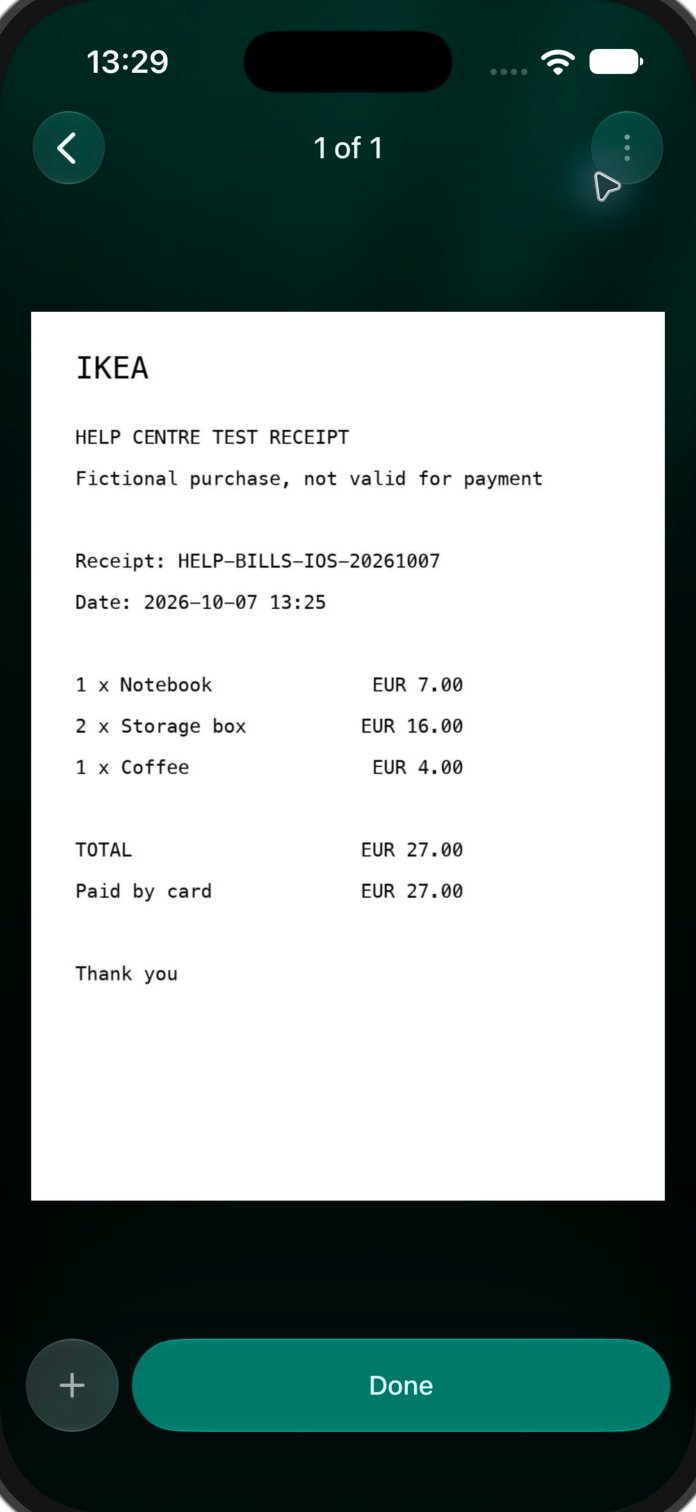
Scan or upload a receipt in finerd, check its items, and attach it to a transaction or create a new one. Fix details or remove a wrong link.
Add a receipt to finerd to keep the purchase details alongside your transaction. finerd reads the merchant, date, amount and items; you check the result and use an existing transaction or save a new one.Receipts need Pro and are available on Web, Android and iOS. You can photograph a paper receipt on mobile or upload a file. For receipts that arrive by email, see Connect your email or Forward bills to finerd.A receipt and a transaction are separate records. A receipt can stay in Bills without a transaction until you use it. Each transaction can have one receipt, and a receipt can be attached to one transaction.
If the payment is already in finerd, start from that transaction to avoid recording the same purchase twice. Otherwise, start in Bills. If Bills isn’t in your sidebar or tab bar, look in More.
Web
Android
iOS
Open Bills and select Scan bill.
Select Upload and choose the receipt file, or drag it onto the upload area. The web app accepts PNG, JPEG/JPG, HEIC and PDF.
Choose Take or upload a photo to scan a paper receipt or use a picture from your gallery. Choose Upload PDF for a PDF file.
Confirm the scan or file selection. finerd uploads it and starts recognition.
Open Bills and tap +.
In Bill mode, photograph the receipt or use the photo-library button to select a picture. Check the crop and confirm it.
For a receipt longer than one frame, choose Long Bill and capture its sections before confirming.
To add a PDF, open a transaction and choose Attach bill → Create from PDF. Select the file, then tap Done on the attachments screen to start recognition.
Confirm the selected PDF with Done to start recognition.
Include the merchant, date, items and total in a clear, well-lit image. If recognition fails, try a clearer image or upload the receipt in the web app. On Web, the error offers Try another image; Android and iOS offer Retake photo.
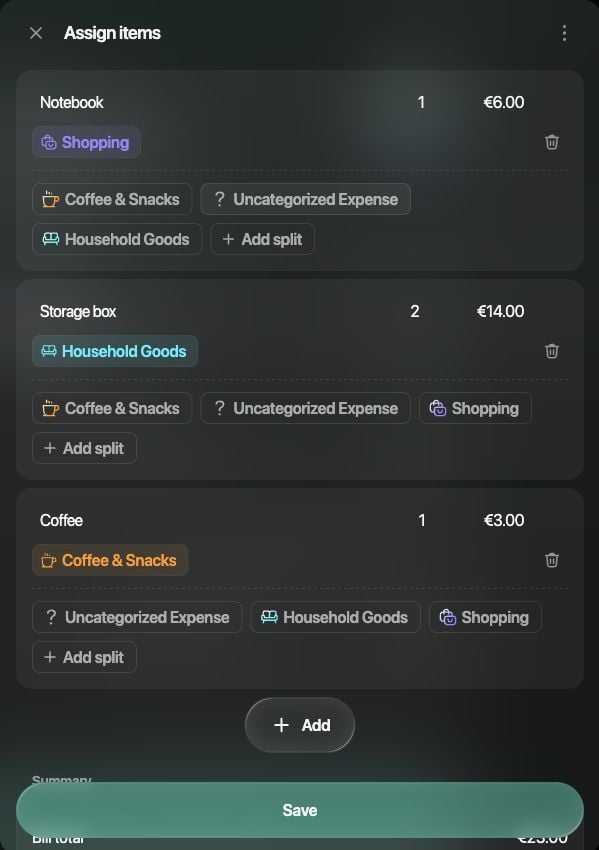
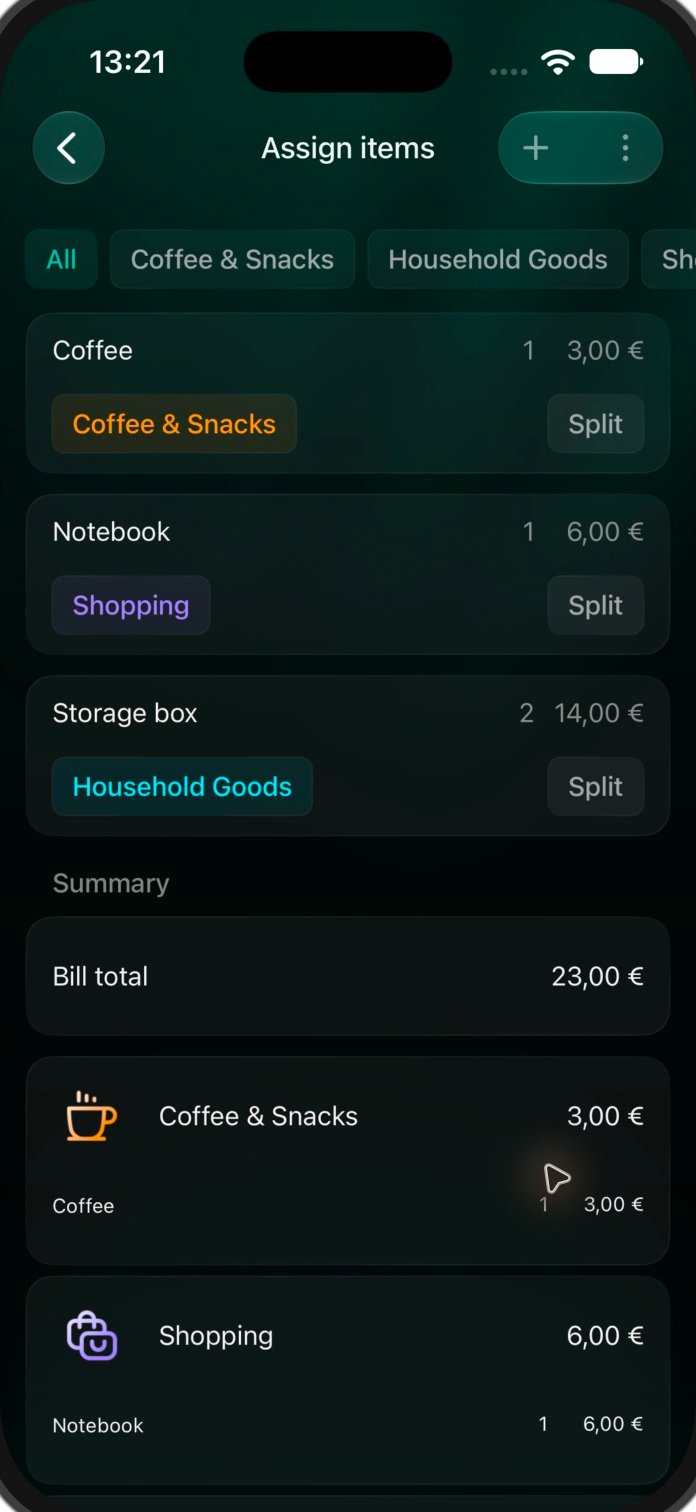
Check the merchant, date, currency, total and item quantities against the original receipt. Recognition can also suggest categories for individual items, so one receipt can produce several parts of a transaction. Check those categories too: an item name is not always enough to identify the right one.For example, a €23 receipt with a €6 notebook, two storage boxes costing €14 together and a €3 coffee still needs a €23 total. The amount beside the two boxes is their combined price, not the price of one box.If finerd finds a matching transaction, check that it is the right payment before saving. If the match is wrong, use No, create new transaction only when you need a new record; otherwise close the draft and choose the existing transaction yourself.The receipt is already stored after successful recognition. Closing the transaction draft doesn’t remove the receipt from Bills. To correct recognized item details, follow the correction steps.To change which category each item belongs to, follow Split a transaction by receipt items.
Use this when the purchase isn’t already recorded. Creating a manual transaction doesn’t guarantee that a later bank import will merge with it; check your records when the bank payment arrives.
Web
Android
iOS
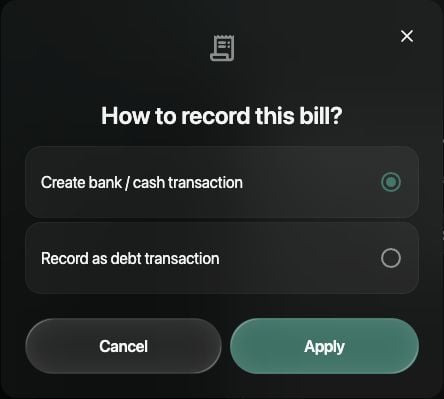
After recognition, in How to record this bill?, select Create bank / cash transaction, then Apply.
Check the payment account in From, the categories in To, the date and the total. Select a category to change it.
Select Save. The receipt now shows Attached in Bills.
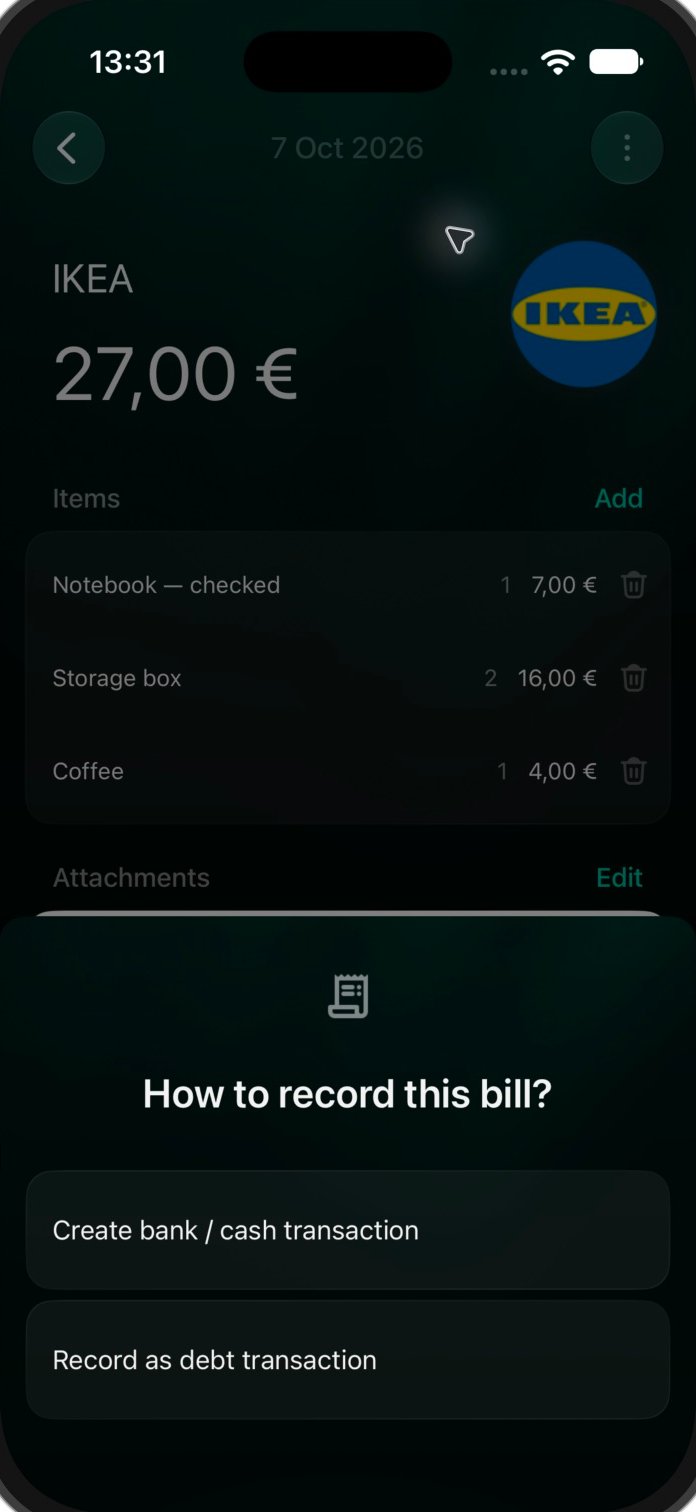
Choose how to record the receipt before reviewing the transaction.
If you already closed the recognition flow, open the unattached receipt in Bills, then select ⋮ → Create transaction.
After recognition, choose Create bank / cash transaction.
Check the account, categories, date and total in the transaction editor, then tap Save.
For an earlier unattached receipt, open it in Bills and tap Create transaction.
In How to record this bill?, choose Create bank / cash transaction.
Check From, To, the date and the total, then tap Save.
For an earlier unattached receipt, open it in Bills and choose ⋮ → Create transaction.
Choose how to record an unattached receipt on iOS.
The same choice screen also offers Record as debt transaction. Use that for a purchase to record as a debt, rather than a payment from your bank or cash account; see Track debts.
Open the payment you want to document. You can upload a new receipt or choose an unattached receipt already in Bills.
Web
Android
iOS
Open the transaction. If the receipt panel is hidden, select the paperclip button at the top.
Select Upload for a new file, or Link to bill for an existing receipt and choose it from the list.
Check the resulting transaction, including its categories and item amounts, then select Save.
Open the transaction and tap Attach bill.
Choose Upload for a new photo or PDF, or Link to bill to select an unattached receipt.
Check the transaction and tap Save.
Open the transaction and tap Attach bill.
Choose Create from image, Create from PDF, or Link to bill. The menu can also offer Get bills from email.
For a new file, confirm the attachments with Done; for an existing receipt, select it from the list.
Check the transaction and tap Save.
You can also start from an unattached receipt: ⋮ → Attach to transaction on Web or iOS, or Attach to transaction on Android. Choose the payment and save the transaction. The picker can start filtered by the receipt’s merchant; change the filter if the payment is missing.Attaching a receipt can change the category breakdown. If the receipt and payment totals differ, check any added adjustment such as Other or Discount before saving. finerd won’t attach a second receipt to a transaction that already has one, or reuse a receipt that is attached elsewhere.
For a wrong category or payment account, edit the transaction. Receipt item details can be corrected on Web and iOS; Android doesn’t have the same item editor.
Web
Android
iOS
Already attached: open the transaction and select Assign items below the receipt image; the button includes the number of items, such as Assign 3 items. Edit an item’s name, quantity or total amount. Select Save in the item panel, then Save in the transaction.Not attached yet: open the receipt in Bills. Select the merchant, date or total to correct it; the total’s calculator also lets you change the currency. Edit names, quantities and amounts in Items, then select Save before attaching the receipt.In either item editor, Add offers Custom, Tax, Tip, Discount, Service, Delivery and Other for missing purchases or charges.
Correct recognized item details directly in the transaction, then save both the item panel and the transaction.
Android shows the recognized items but doesn’t offer the same item editor. Open the transaction or unattached receipt in the web app to correct item names, quantities or prices, then return to Android.
Already attached: open the transaction and tap Assign items beside Attachments; the button includes the number of items. Correct a custom item’s name or an item’s total amount, then tap Apply and Save the transaction.Not attached yet: open the receipt in Bills. Select its merchant, date or total to correct it. In Items, edit a custom item’s name or an item’s amount, then tap Save. Reopen the receipt to attach it or create a transaction.Add offers Custom, Tax, Tips, Discount, Service, Delivery and Other. Use the web app if you need to change an item’s quantity.
Edit item details in Assign items, then apply the changes and save the transaction.
Changing an item’s amount recalculates the receipt total. Changing the overall total redistributes the item amounts, so check the item list again rather than treating the total as an independent field.
Unattaching separates the receipt from the transaction; it doesn’t delete either record. Save the transaction to finish the change.
Web
Android
iOS
Open the transaction and show its receipt panel with the paperclip button if needed.
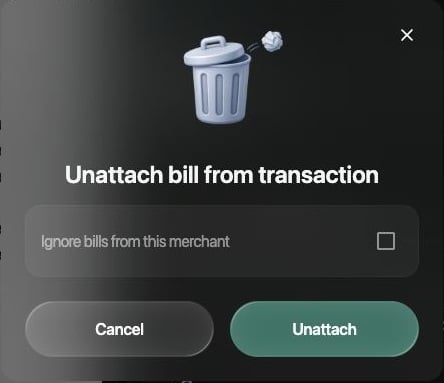
For a receipt with one attachment, select the trash button on the receipt image.
In Unattach bill from transaction, leave Ignore bills from this merchant off if you only want to fix this one link. Select Unattach, then Save in the transaction.
Leave the merchant option off to change only this receipt link.
Open the transaction, choose ⋮ → Delete bill, then tap Save. Despite the menu label, this removes the link to the receipt from the transaction.
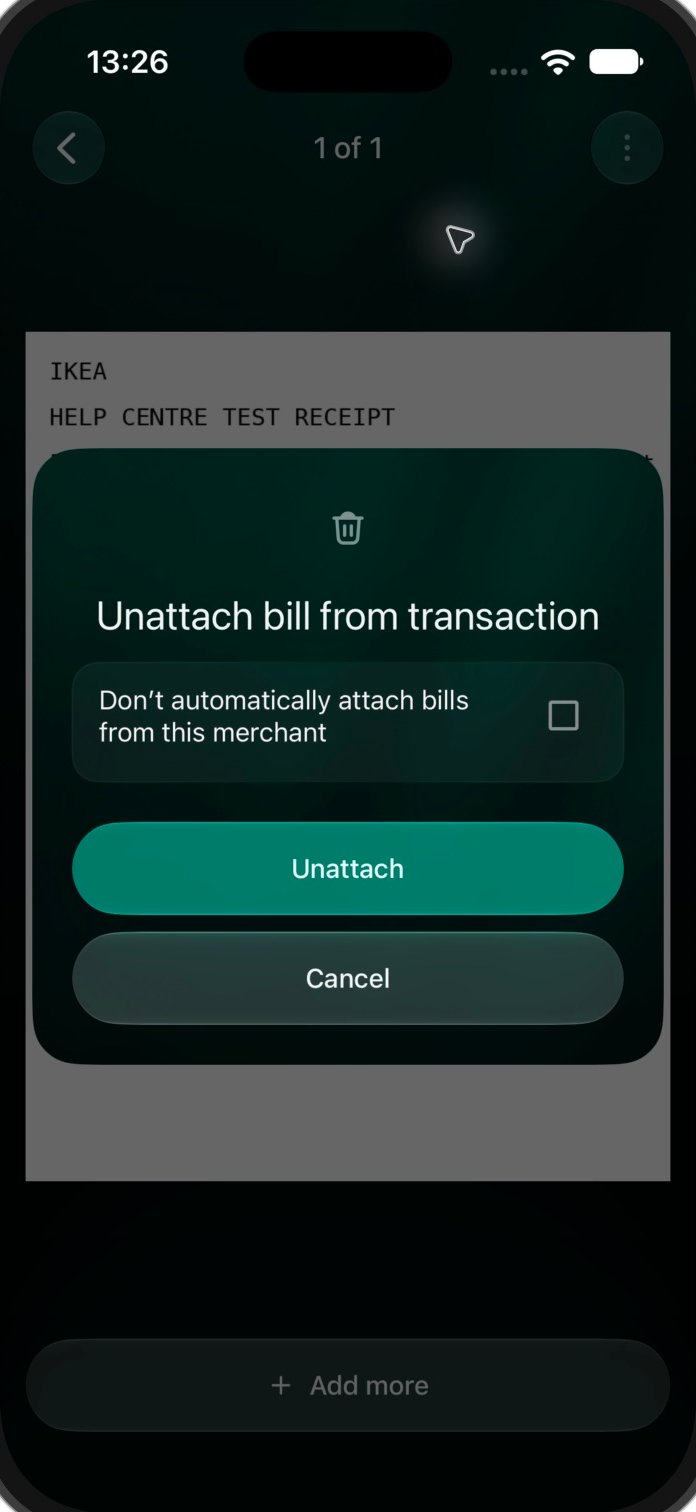
Open the transaction’s attachment, then use its ⋮ menu. An image offers Edit and Delete; a PDF offers Delete. For the last attachment, Delete opens Unattach bill from transaction. Leave the option to stop automatically attaching this merchant’s receipts off, tap Unattach, then Save in the transaction.
Keep the merchant option off when correcting only one receipt link.
With several attachments, removing one image is different from removing the receipt link. Check the confirmation before proceeding. Once the receipt is unattached, you can link it to the correct transaction.