> ## Documentation Index
> Fetch the complete documentation index at: https://help.finerd.ai/llms.txt
> Use this file to discover all available pages before exploring further.
# Dashboard
> Choose widgets, configure their data, and arrange them on your Dashboard.
Choose the information you want to see on **Dashboard**, such as account balances, expenses, income, or recent transactions. Available settings depend on the widget type.
1. Open the **⋮** menu in the top-right corner of **Dashboard** and select **Add widget**.
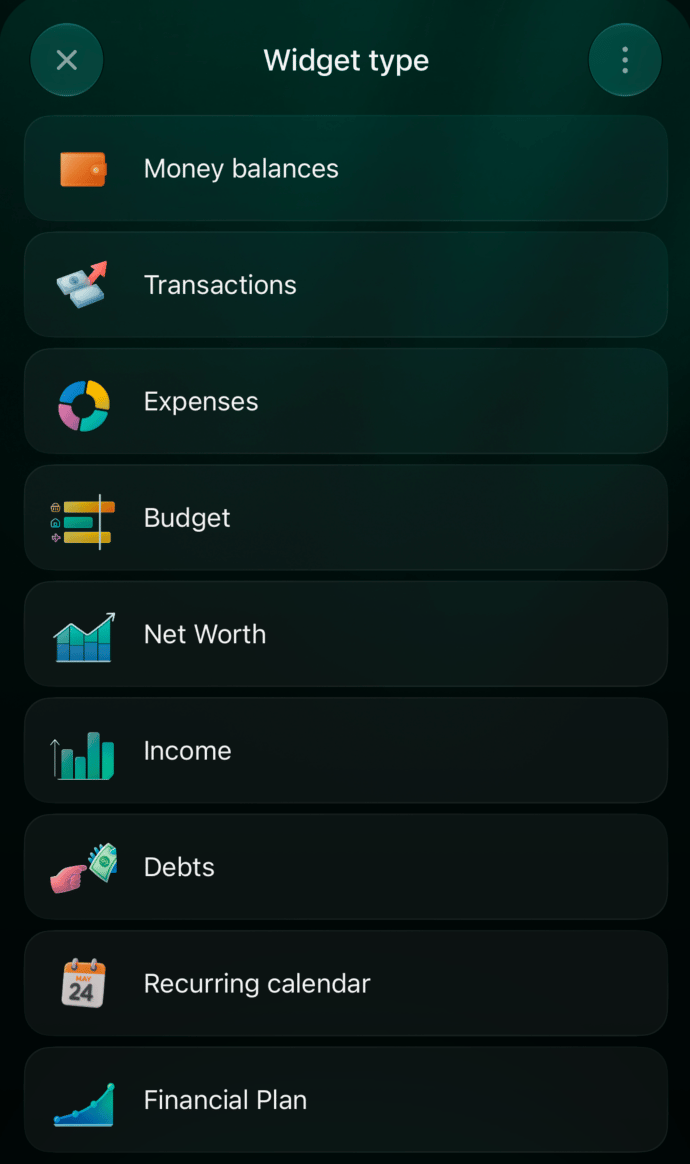
2. Choose a widget type, such as **Expenses**, **Income**, **Money balances**, or **Transactions**.
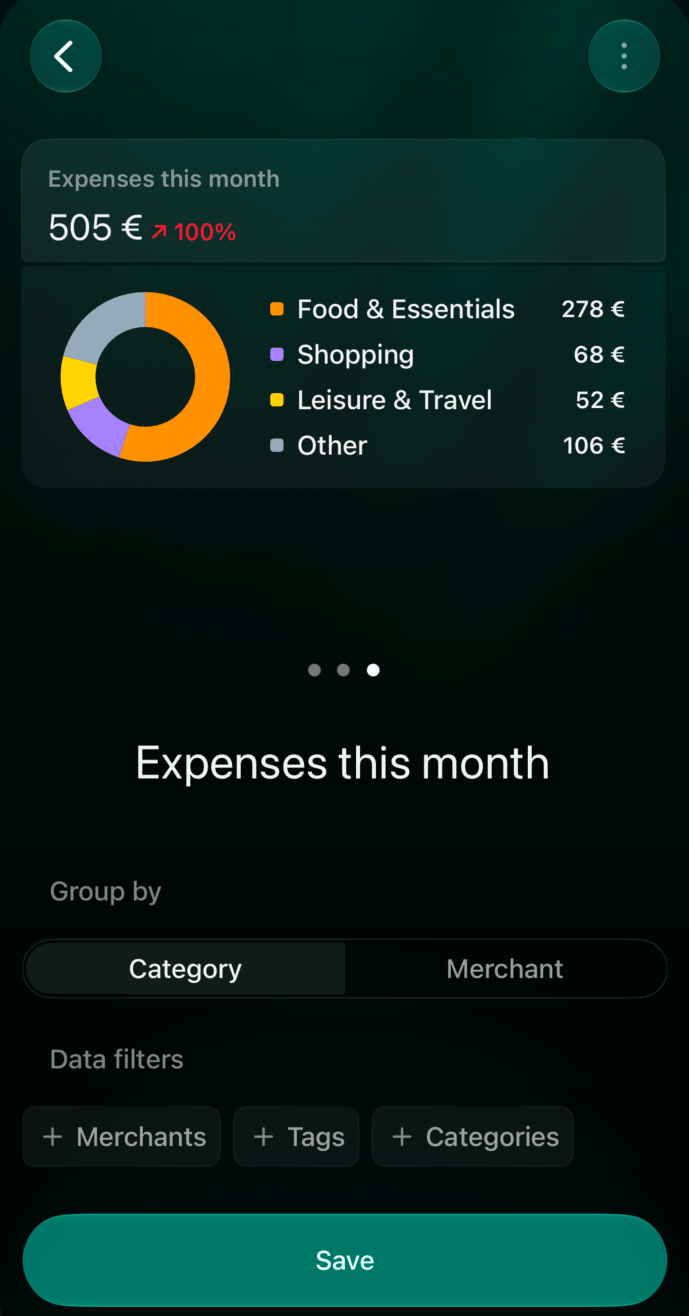
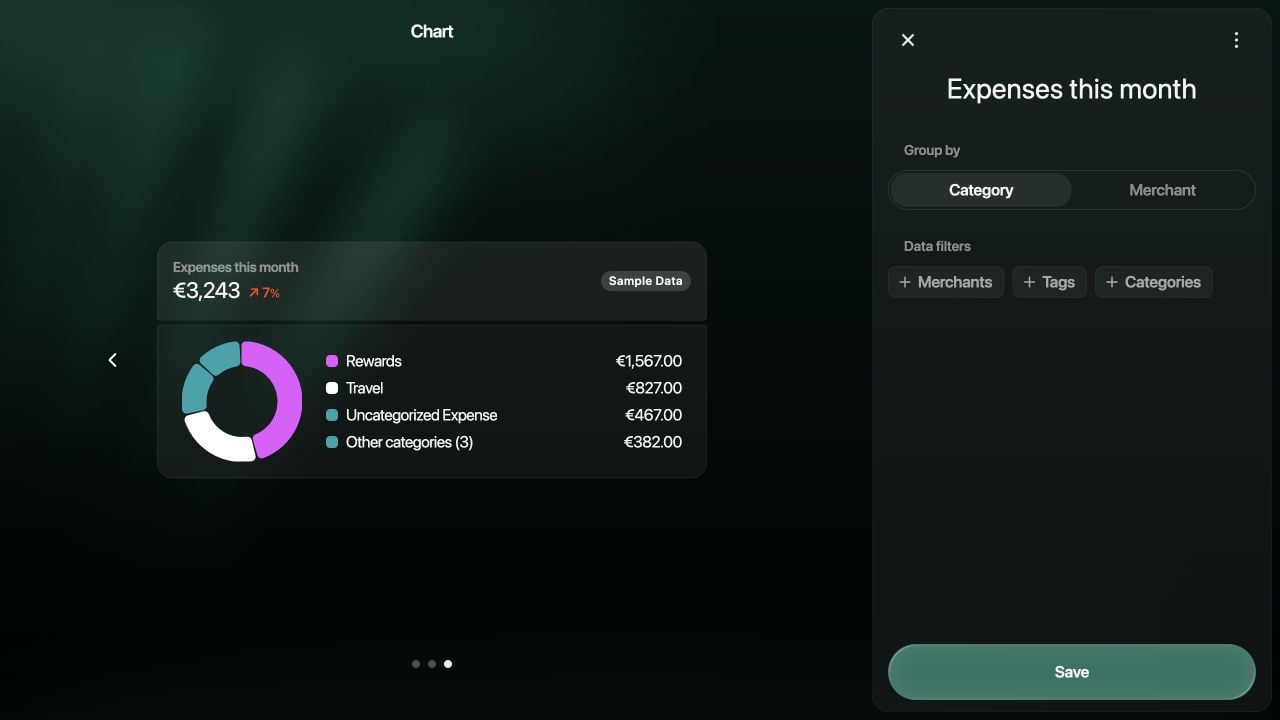
3. Configure the data to display. For example, **Expenses** offers **Category** or **Merchant** under **Group by**, and **Data filters** for merchants, tags, or categories.
4. Select **Save** to add the widget.
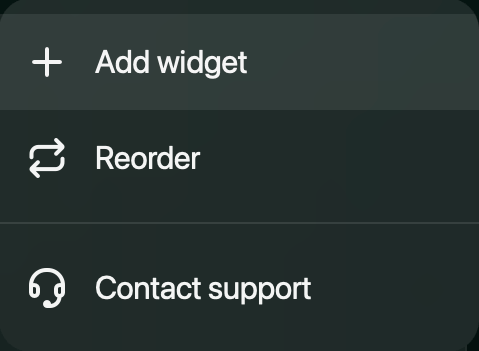
 To change the order, open the dashboard’s **⋮** menu and select **Reorder**. Drag widgets into position, then select **Done**.
1. Scroll to the bottom of **Dashboard** and tap **Add widget**.
2. On **Widget type**, choose the information to display, such as **Expenses**.
3. For **Expenses**, choose **Category** or **Merchant** under **Group by**. Add **Merchants**, **Tags**, or **Categories** under **Data filters** if needed.
4. Tap **Save**.
To change an existing widget, touch and hold it, then select **Edit widget**. To change the order, select **Reorder** from the same menu, drag the widgets into position, and tap **Done**.
This documentation is built and hosted on [Mintlify](https://mintlify.com), a developer documentation platform.
To change the order, open the dashboard’s **⋮** menu and select **Reorder**. Drag widgets into position, then select **Done**.
1. Scroll to the bottom of **Dashboard** and tap **Add widget**.
2. On **Widget type**, choose the information to display, such as **Expenses**.
3. For **Expenses**, choose **Category** or **Merchant** under **Group by**. Add **Merchants**, **Tags**, or **Categories** under **Data filters** if needed.
4. Tap **Save**.
To change an existing widget, touch and hold it, then select **Edit widget**. To change the order, select **Reorder** from the same menu, drag the widgets into position, and tap **Done**.
This documentation is built and hosted on [Mintlify](https://mintlify.com), a developer documentation platform.